Maybe my life seems melancholy to my readers, and I don’t actually want my blog content to be so serious. (Hence, I wrote about my two loveable labs a bit ago “Lick, Love, and Learn” 😉 My life is not dull, in spite of my deeper thoughts, and I only need a mini farm to keep it lively around here.

I’m up at the crack of dawn just about every day for the gardening, chickens, and other animals. Shortly after I’m up so is the tiny two-legged one 😉 There’s lots of action here to be had. And I go to bed utterly exhausted.

However, last night I really wanted to finally complete this side project I’ve been working on. I’m not sure why I say “side” project because, the truth is, I am always making something. I see a picture or a design or hear something or think up something and I say to me, myself, and I, “We could make that ourselves!” Yes, it’s very silly. As if I didn’t already have so much to do. Ahhh… it’s difficult to turn off the creative switch in my brain.
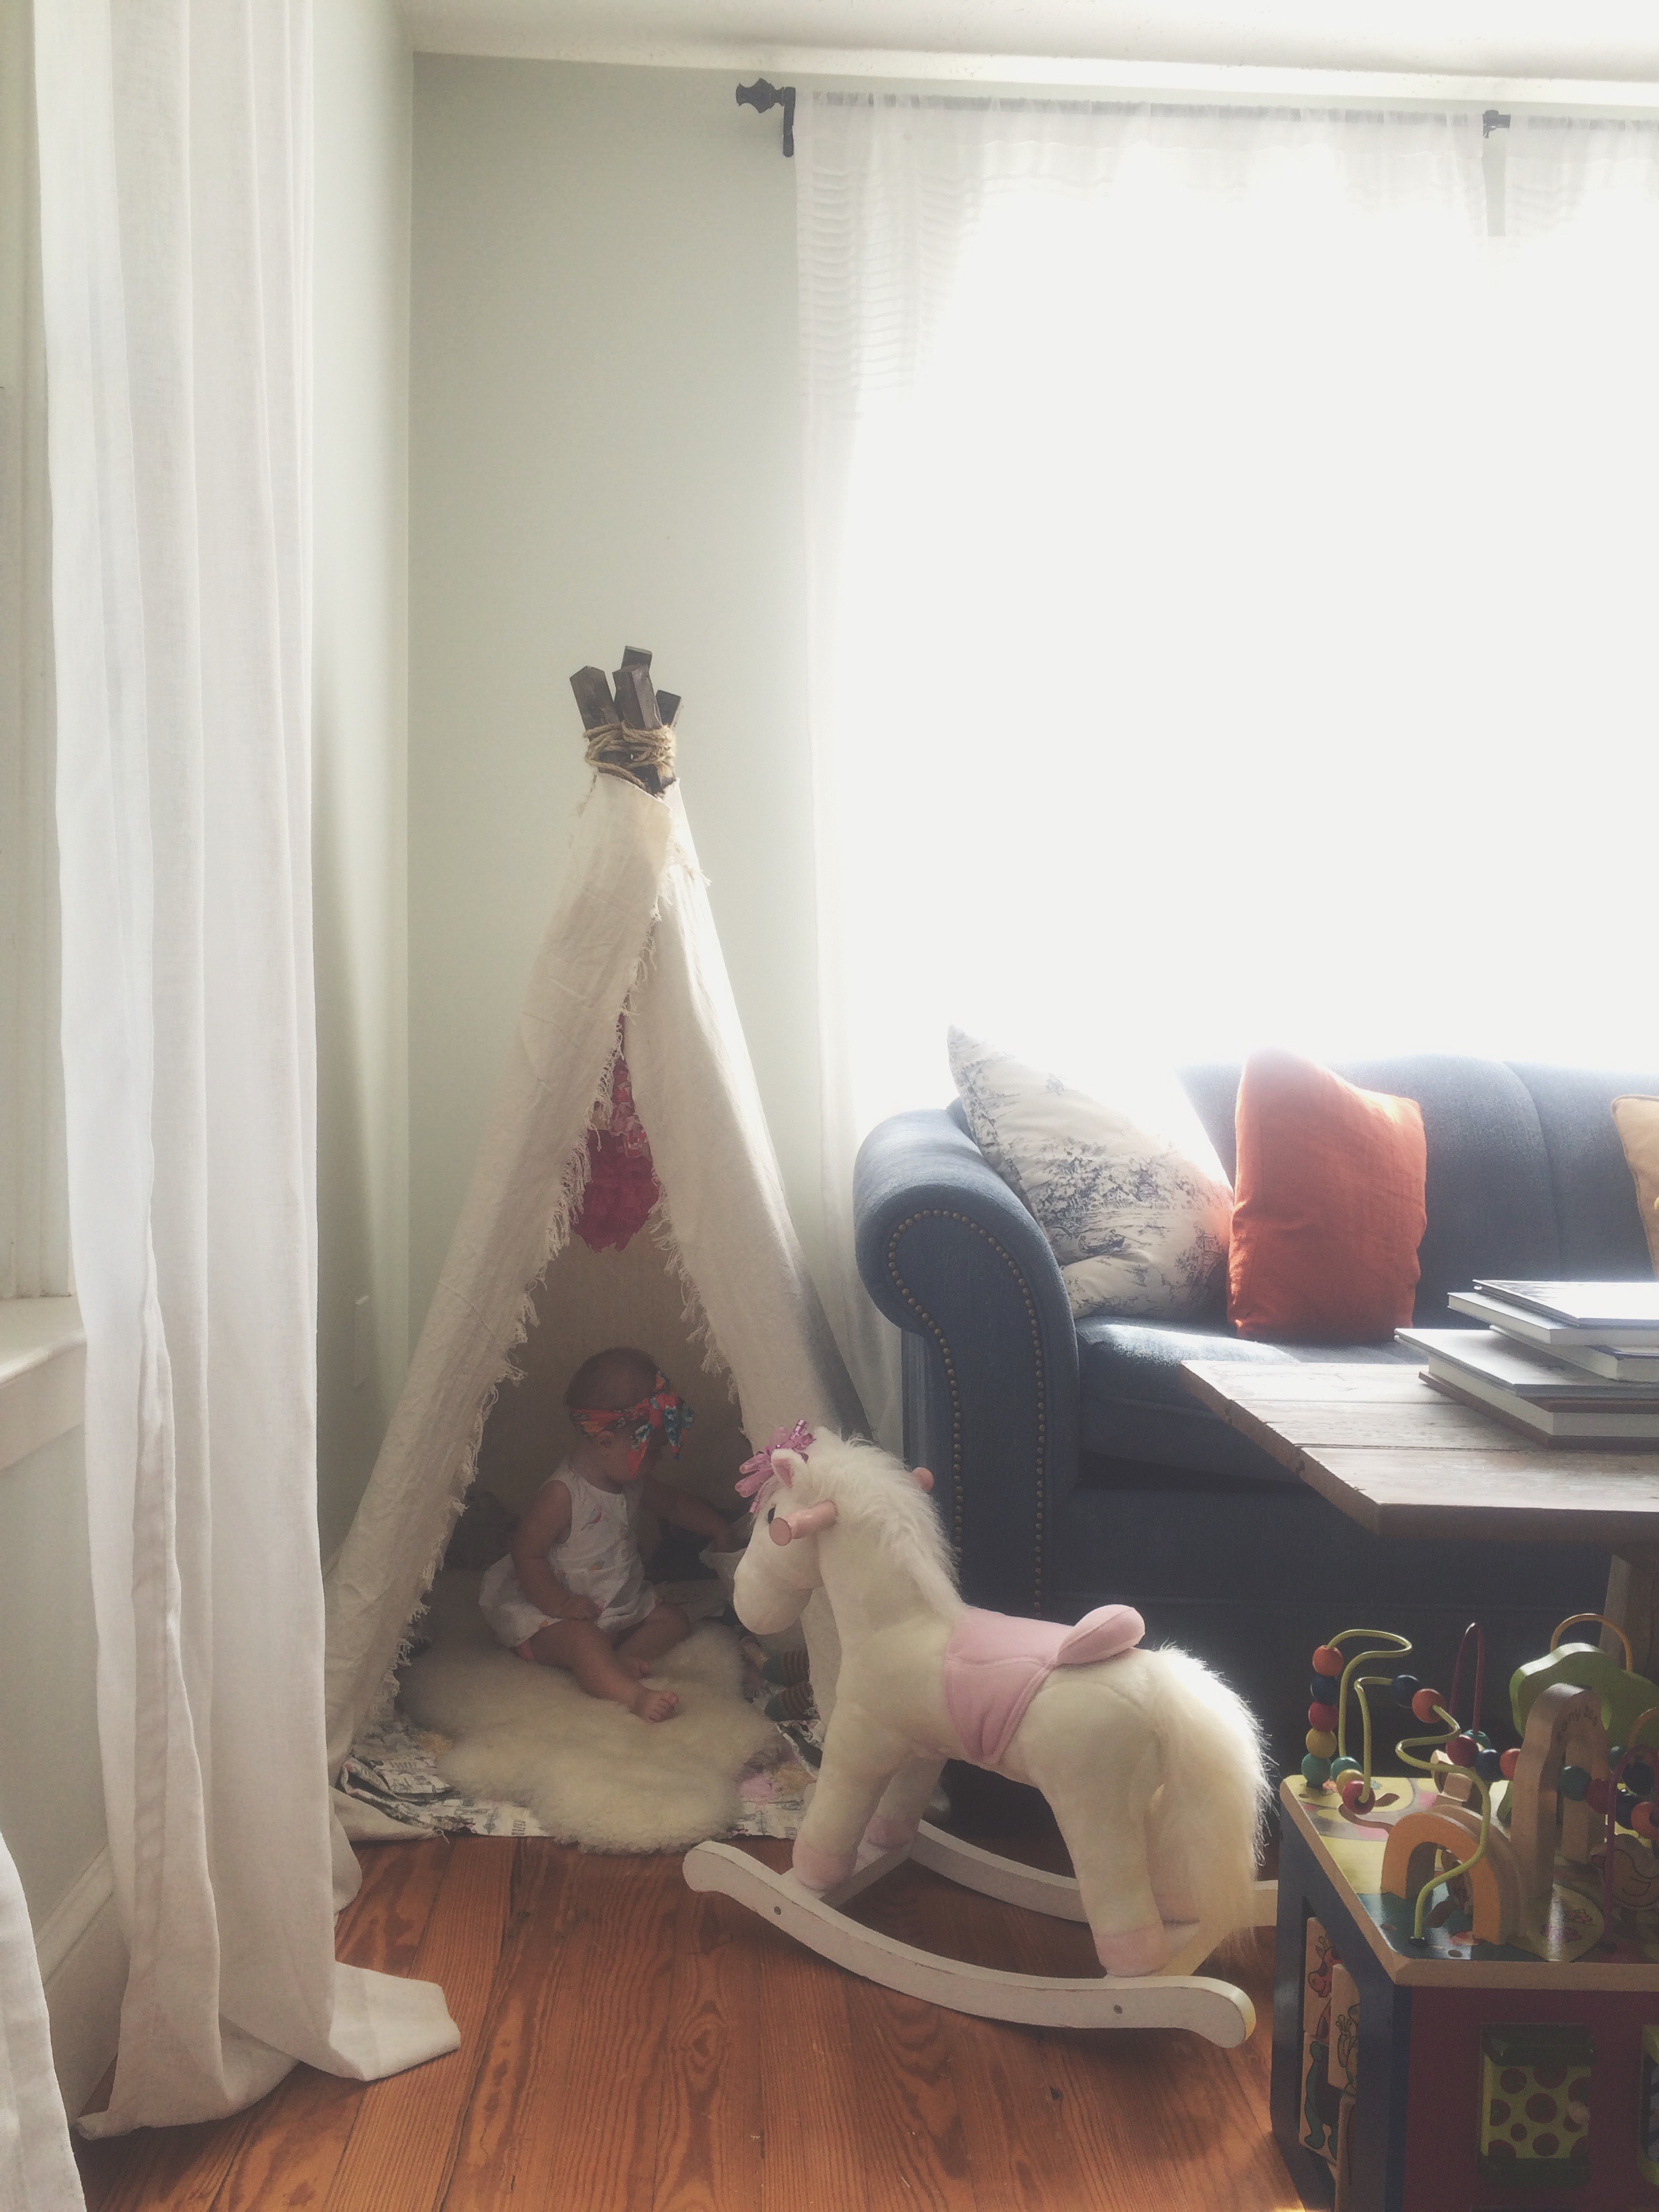
Back to the project last night. I decided that instead of spending $100+ on a playpen for this explorative one year old who probably wouldn’t like it anyway… Instead of trying to finagle space in this tiny farmhouse when there is no extra space… Since we don’t have basement steps… A baby teepee is the perfect solution!
—
Here’s the lowdown list:
- 8x2x2 wood
- Wood stain
- Twine
- Drill
- Painter’s canvas 4×15
- Measuring tape
- Sharpie
- Cloth scissors
- Hot glue gun
—
I’m not a true DIY blogger, because I don’t take pictures of every single step in the process. But, really, this is a simple design, so it would be easy to figure out on your own.

I pinned several layouts that I liked, and you can view those in the Pinterest boards “Handmade” and “Little | Spaces.” I pieced together different tips from different DIY-ers. I didn’t want to spend much money and I definitely didn’t want to use PVC pipes for our teepee. So I gathered together the supplies I already had, scanned the pinned designs, and created my own.

First I built the structure. I collected the wood (I had the Lowes assistant cut mine down to five feet), used an electric sander to quickly take off the rough edges, stained the boards with a cloth, drilled holes at the six inch mark (you can do it wherever you want), strung the twine through the four boards, and interlaced it at the top while leaning the boards out into a teepee structure.

Yes. That was the first part.
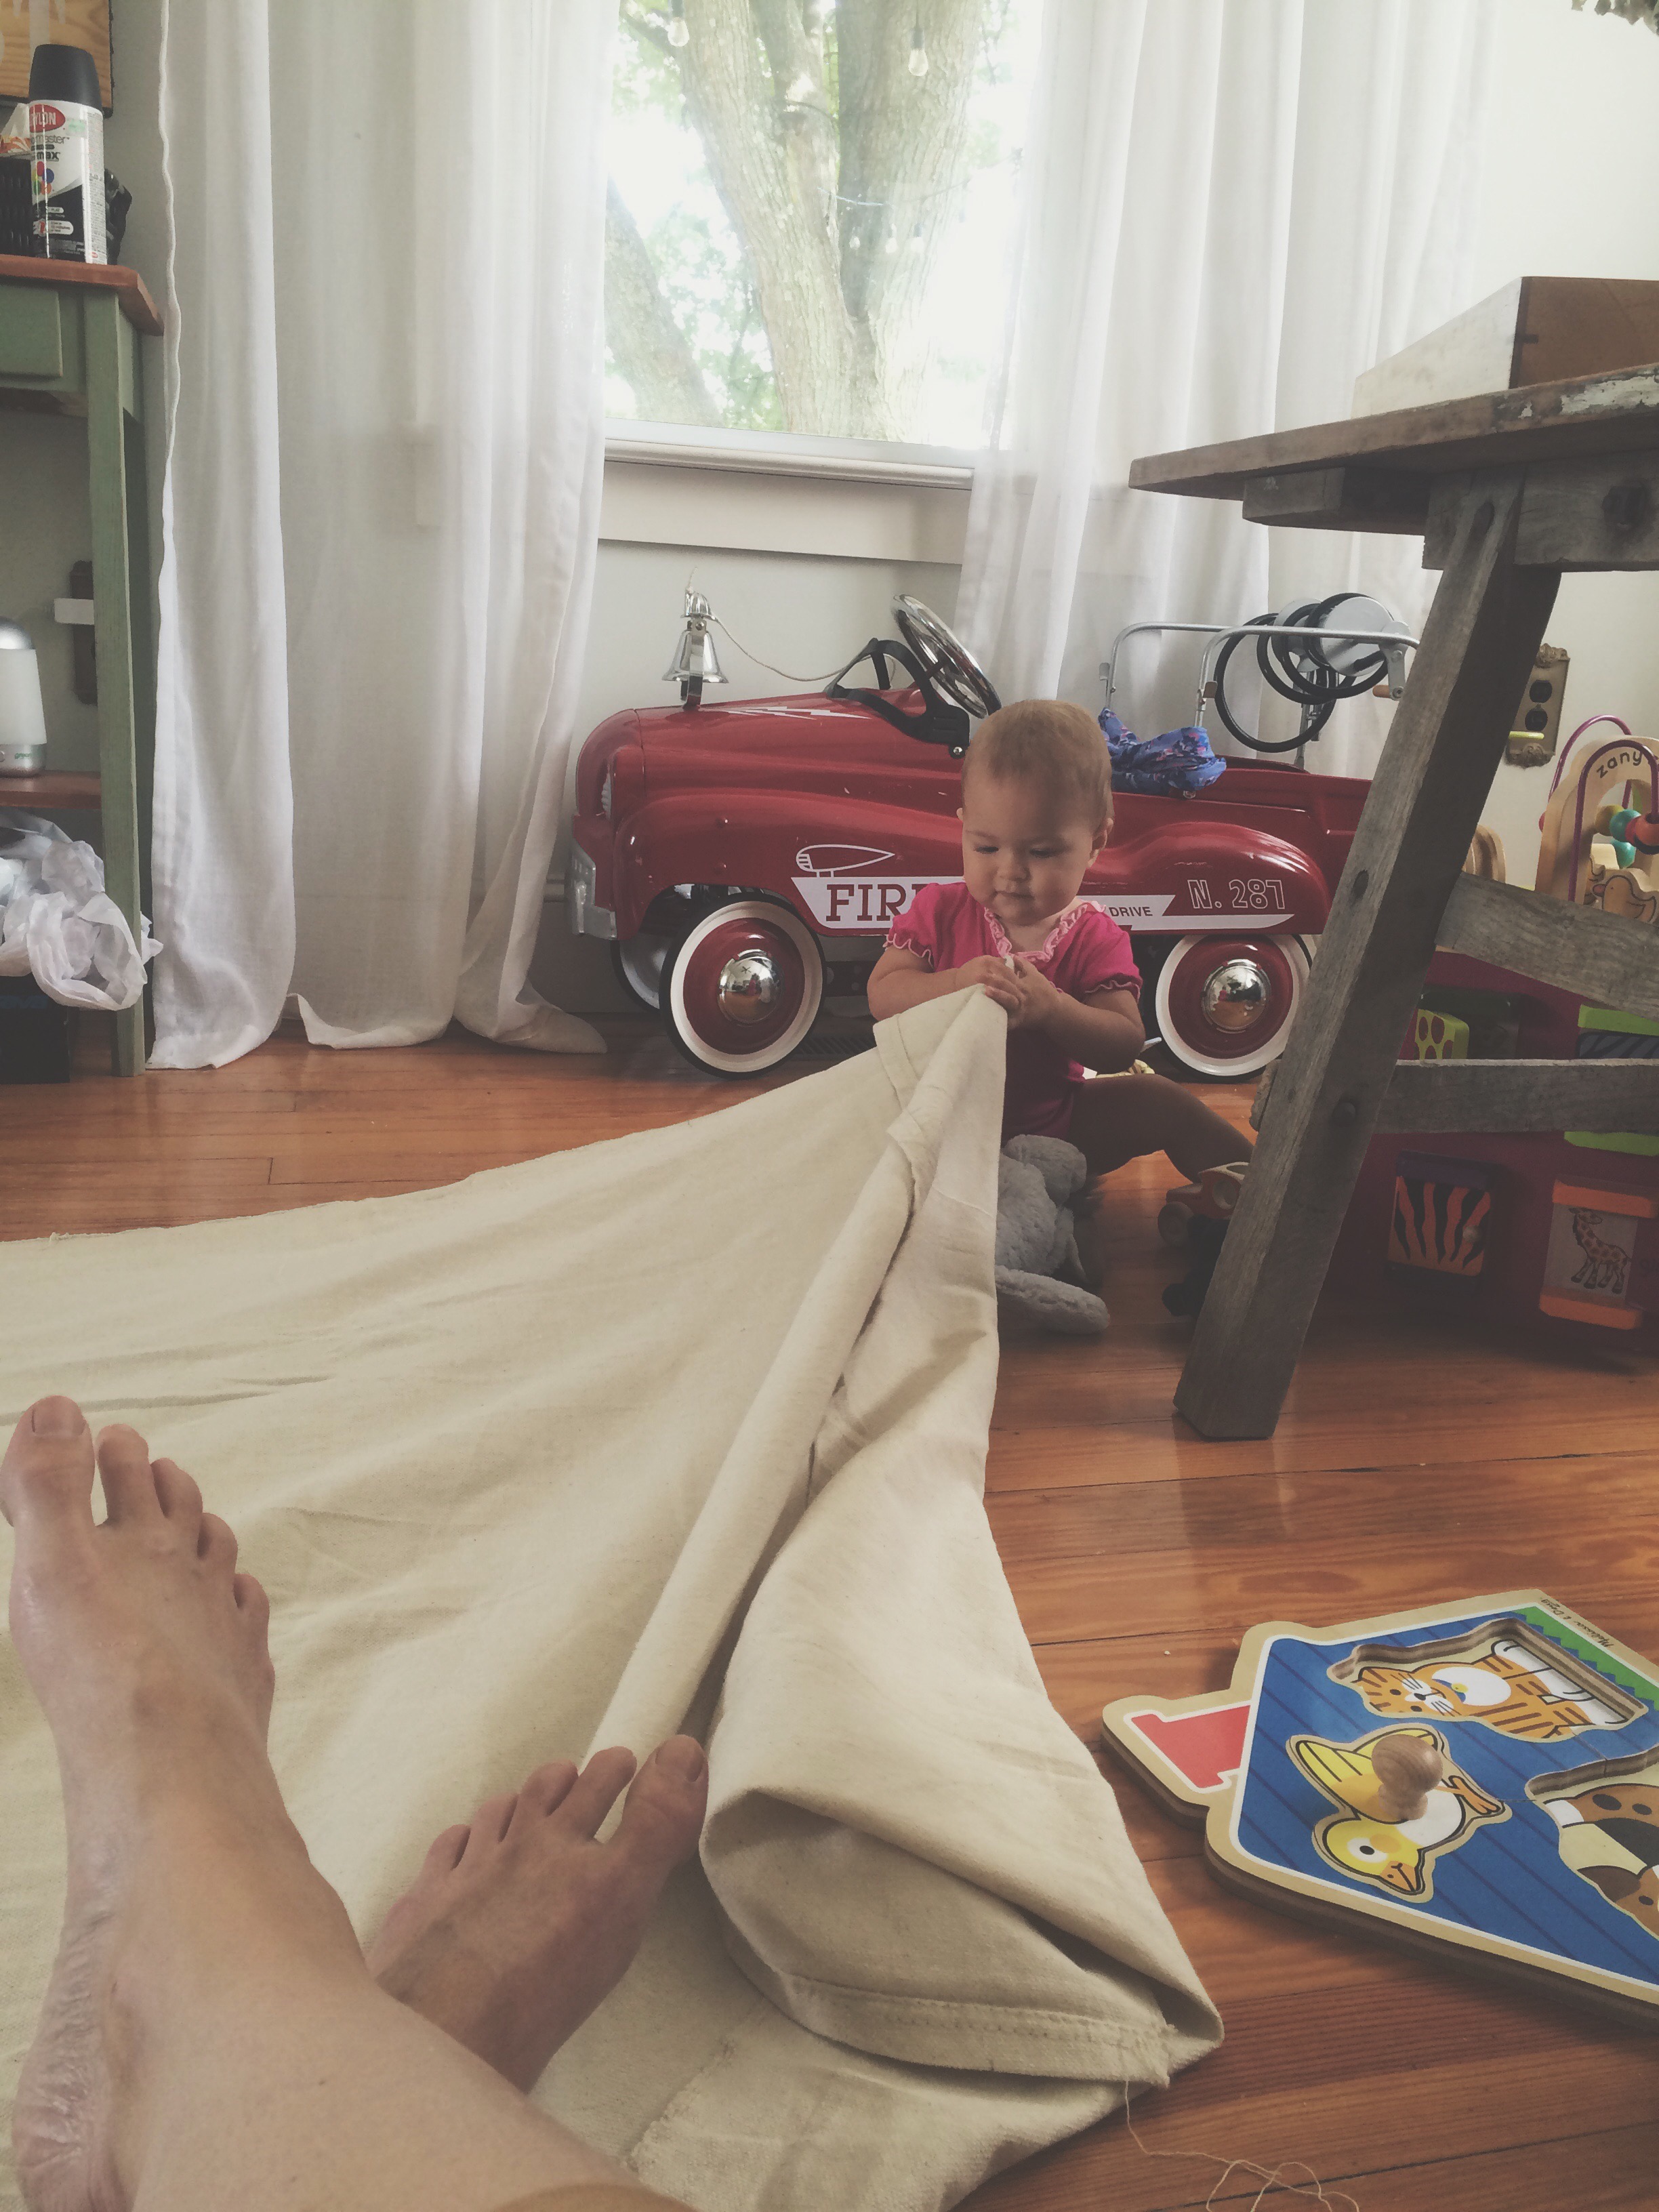
Next I created the drape. I bought the canvas (in the paint section of the store), measured the boards from the holes of twine down to the floor (so as to see how much fabric was needed for each panel), measured the bottom width and the top width (chose my top to be ten inches), drew the lines, cut, and glued the panels together.


Side Note: I measured three panels to be 60 inches, but one came out a little short (since the whole canvas sheet was just 15 feet), so that shorter one is the middle panel and hangs on the back of the teepee. Anyway, it’s good to have extra length on each panel so as to wrap & glue the extra fabric around the bottom of the teepee legs. Does that make sense? Pulling the fabric up around the legs and gluing it in to place makes the overall teepee structure more sturdy and keeps the fabric from slipping.

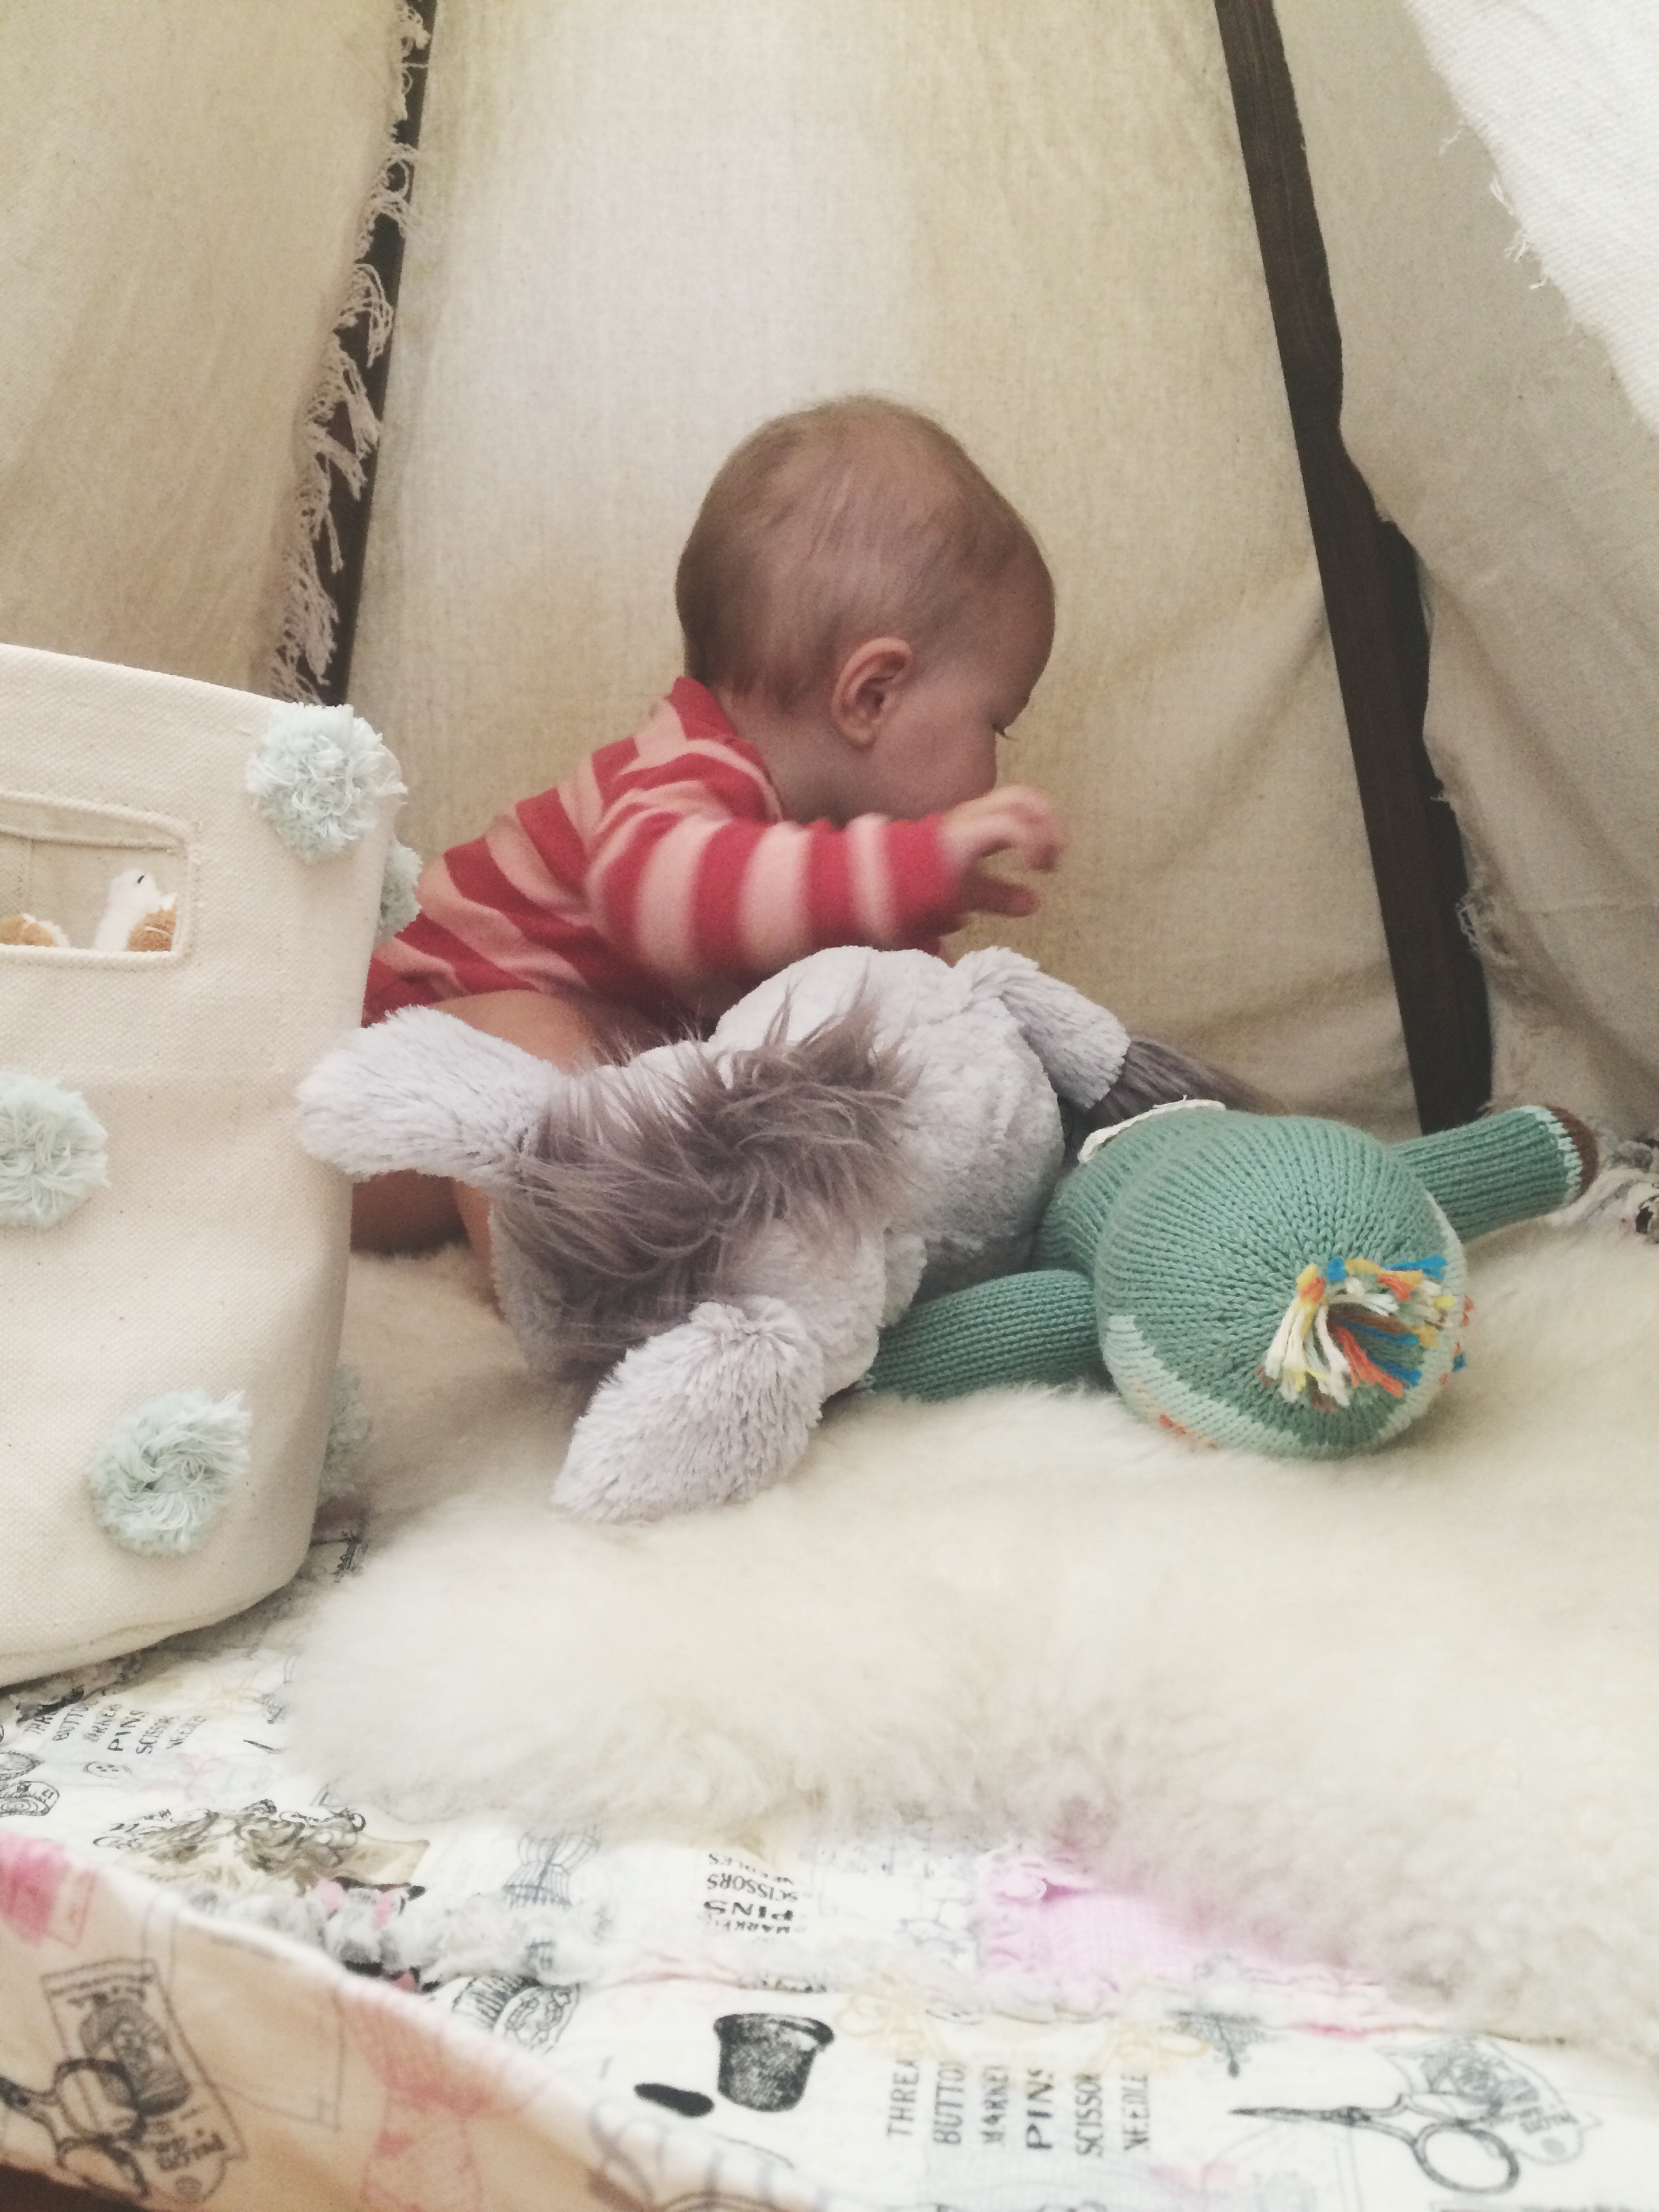
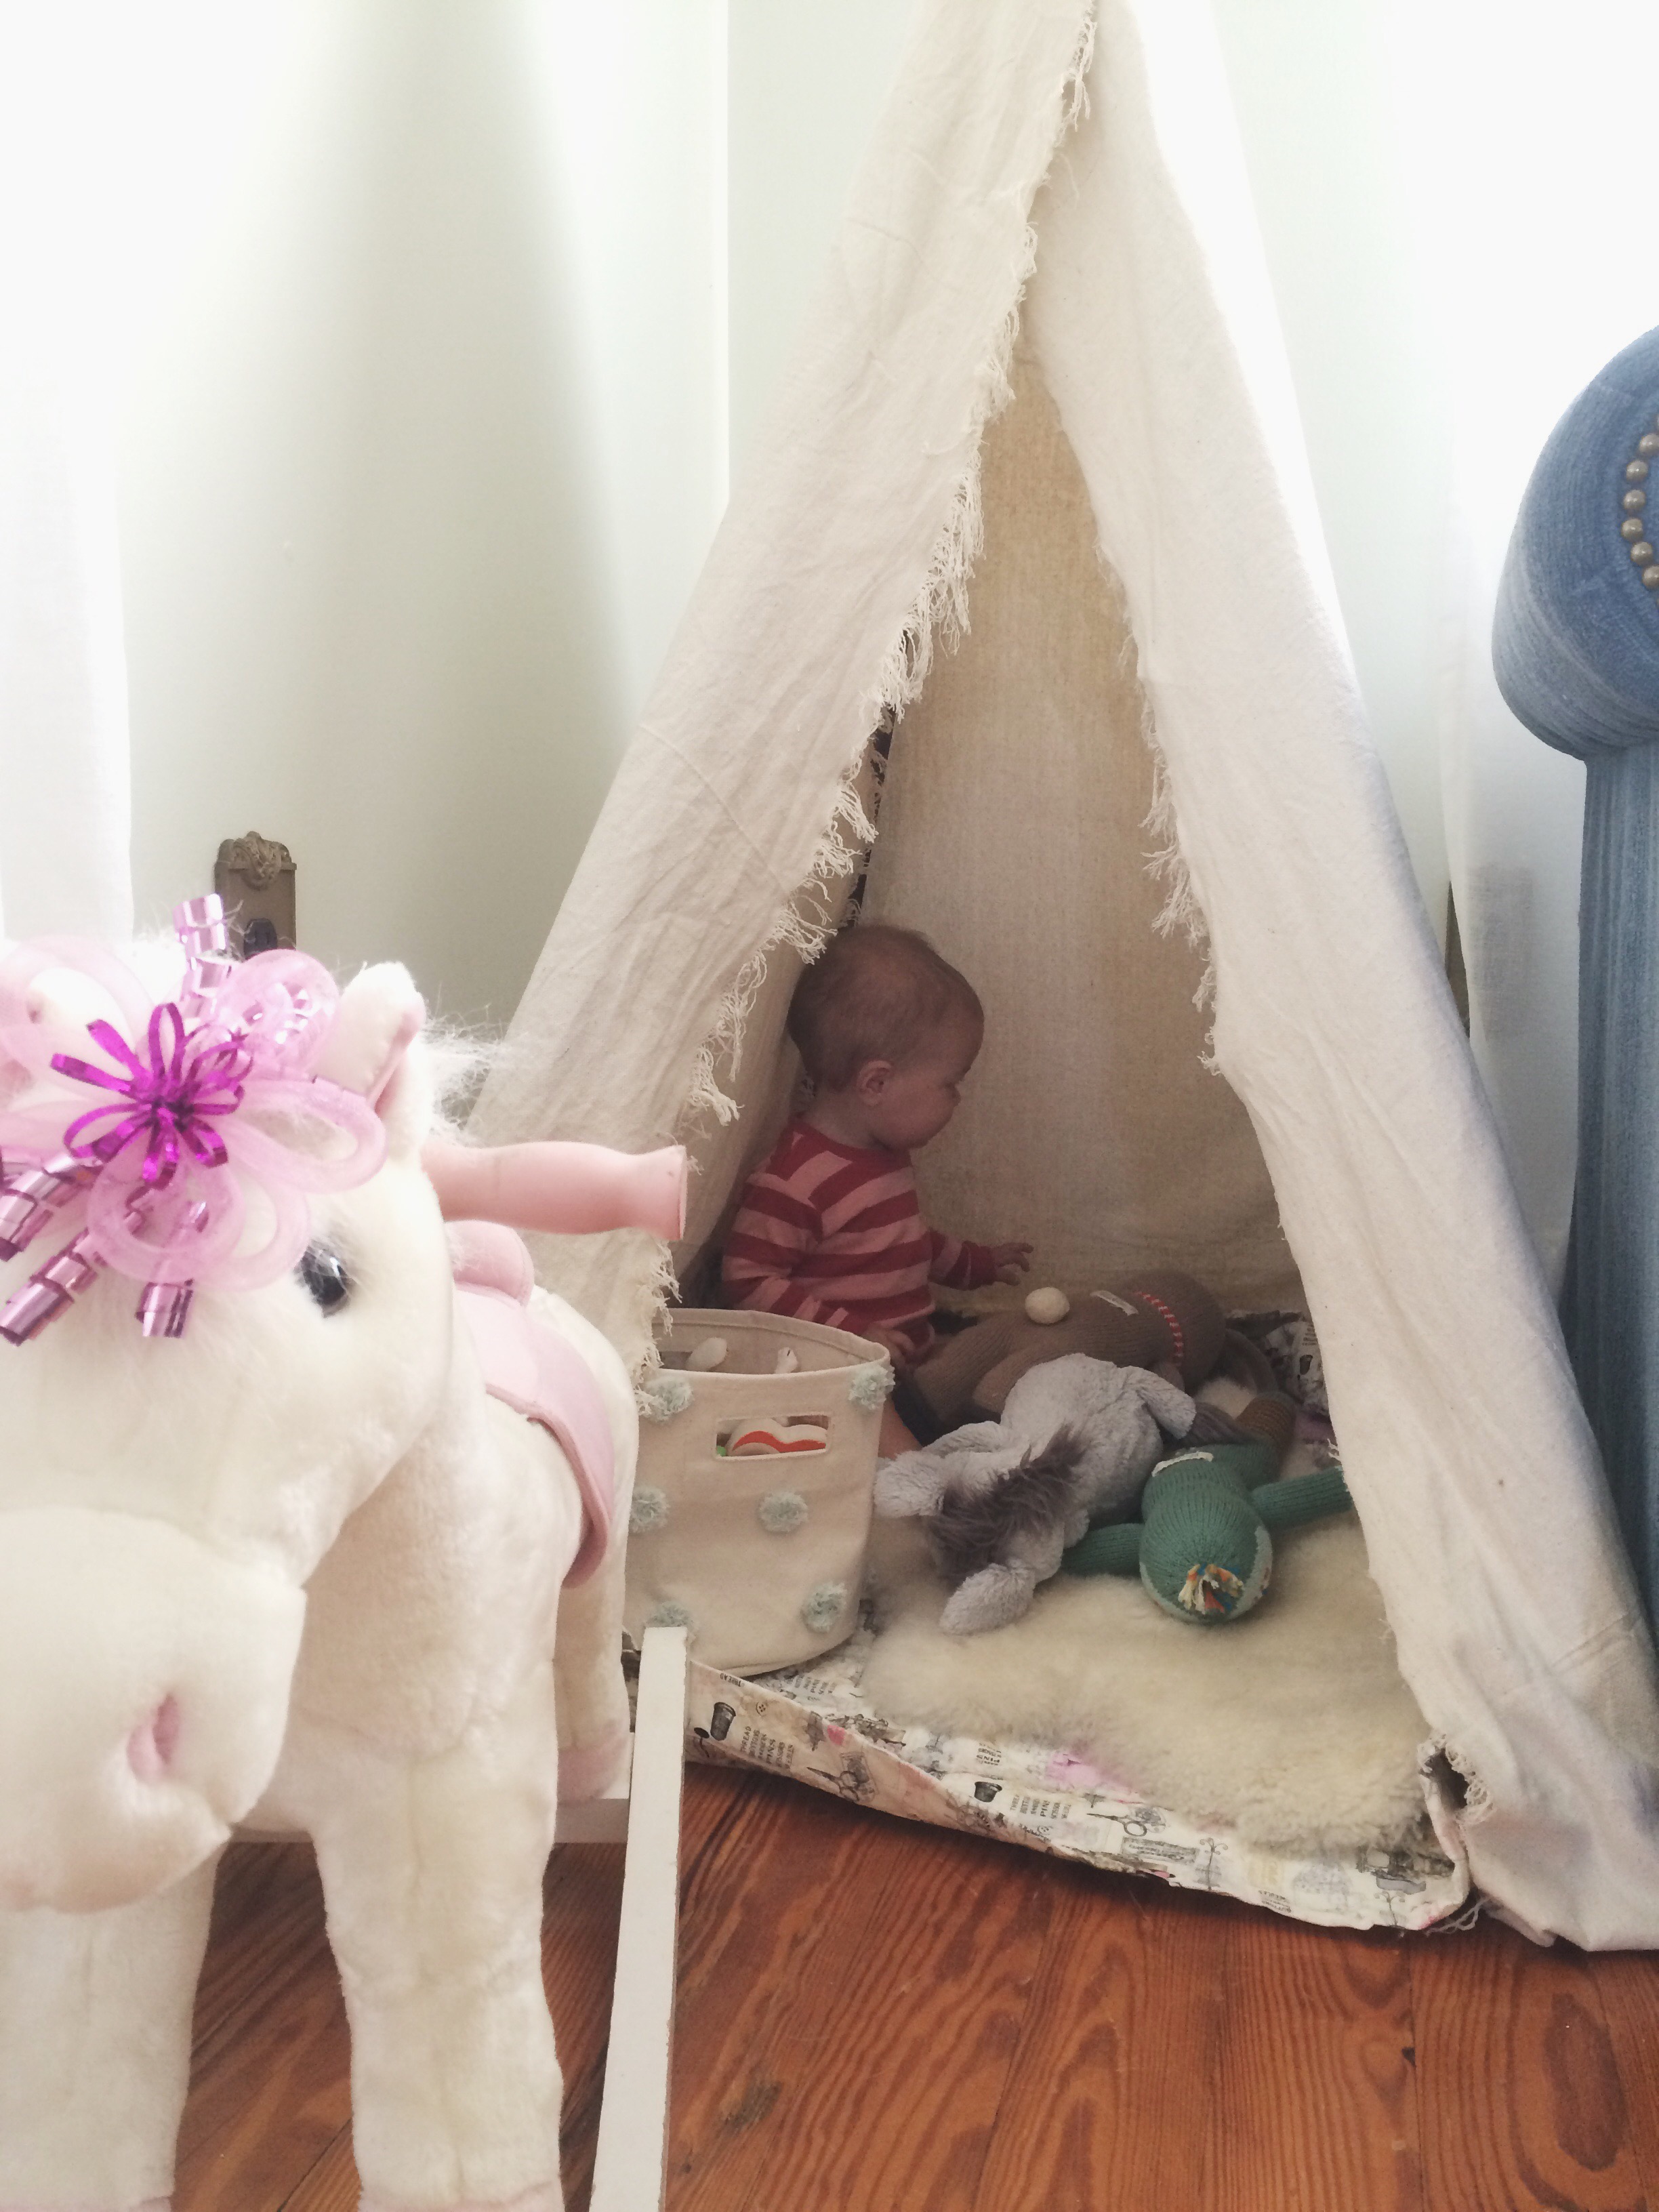
Lastly, after gluing the panels together, I draped and centered the whole piece onto the teepee structure and glued spots in place. It’s definitely not indestructible for an active toddler who will pull more. But at this stage my girl is still kind of dainty and I’m not worried about it holding together. The most secure way to keep the cloth in place is to drill small wood screws through at the top.


For the cherry finish I grabbed the leftover tissue paper pompoms I made for her party and hung them up inside the teepee for a bit of whimsical flare.


It turned out pretty well! The whole project cost me $25! My only regret is chopping the boards to 5 feet. It would look nicer in our living room if the structure were taller. C’est la vie.

She now has her own nook for her tinker toys and she appears to love it.


Make your own teepee this weekend and post pics of your design and how much your littles love it!!!